Google apps is a premium Google service which basically works with businesses providing email address, online storage, shared calenders, video meetings and more. This platform is well known for providing custom email address which is driven by a domain address [i.e. Your company website address] with this format "email@yourcompany.com". You will be given 30GB of storage with 24/7 support capability. Not only you create your business email address but also you can add users to your business so that they can access your services easily.
We will use Namecheap domain provider to perform our custom MX records setup, so if you don't have any domain address under Namecheap [who provides the cheapest and most affordable domain address of the planet] you can get one [Use coupon Code “RAINYDOMAIN” to get special discount] for your own business.
Namecheap Offers Special Discount on Domain Purchase [Hot Offer]
Discounted COM, NET, ORG, BIZ Registrations and Transfers
The coupon code entitles you to register or transfer your .com, .net, .org, .biz, .info at the following discounted rates:
The coupon code entitles you to register or transfer your .com, .net, .org, .biz, .info at the following discounted rates:
- COM Registration $9.66 + $0.18 ICANN Fee
- COM Transfer $8.84 + $0.18 ICANN Fee
- NET Registration $11.32 + $0.18 ICANN Fee
- NET Transfer $10.52 + $0.18 ICANN Fee
- ORG Registration $10.21
- ORG Transfer $9.41
- INFO Registration and (or) Transfer $9.66
- BIZ Registration $10.21BIZ Transfer $10.03
Hurry, though – this is a limited time offer and is also restricted to 30 uses per account!
Use coupon code "RAINYDOMAIN" to get special discount on domain registration
Create Free Business Email Address with Google Apps and Namecheap
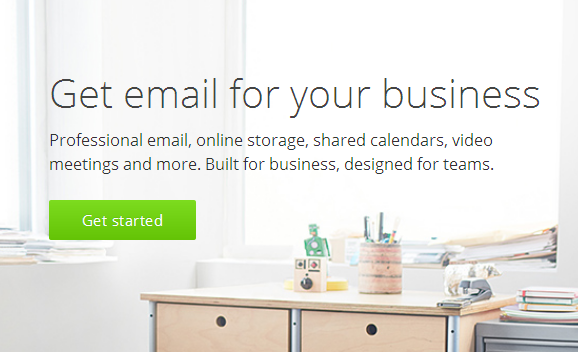
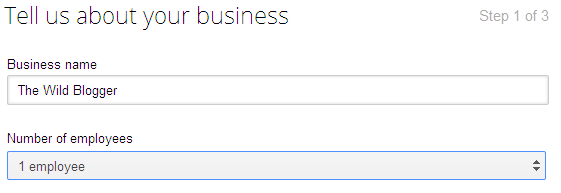
1. First of all go to Google apps for work official page and click on “Get started” button2. Now provide your business name [i.e. Your website name may be], Number of employees [i.e. Quantity of people working under your business], Country/Region [i.e. Your location] and hit “Continue” button
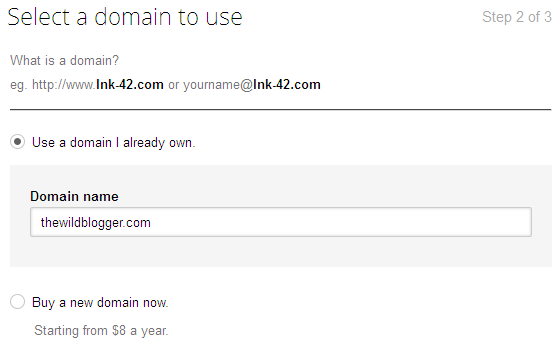
3. On step two you have to insert your domain URL with “yoursite.com” format or you can purchase a new domain just at $8/year cost. Now click on “Continue” to proceed
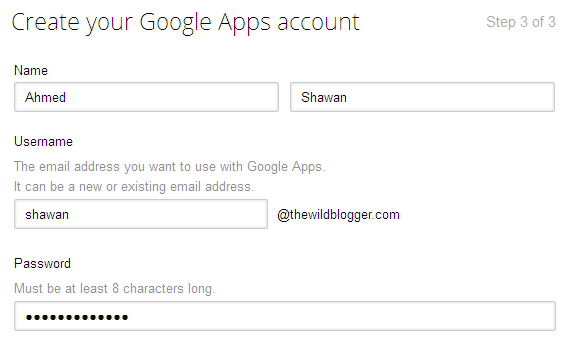
4. To create your Google apps account you have to provide your Name, Username, Password, Recovery email address [Email address is used to recover your Google apps account if forget password or username], Phone number, Security verification and click on “Continue” to setup your Google apps account
Verify Domain
5. Now you have to verify your domain address using two separate options [Meta tags, or file upload], in case of my Blogger site verification I have used Meta tags but if you use WordPress then you can upload a file containing Meta tags on public_html folder using FileZilla client or Cpanel file upload option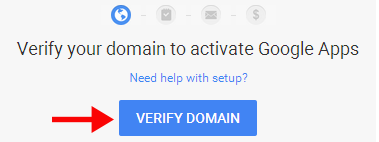
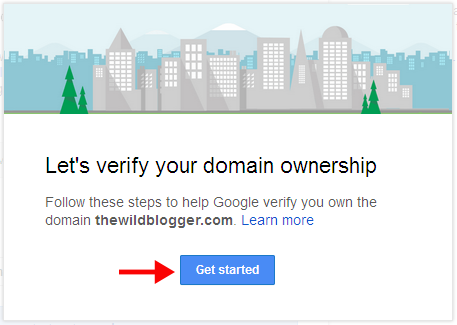
6. So to verify your domain click on “Verify Domain” button then hit on “Get started” and choose two of the following domain verification method. When you will add Meta tag value on your blog or site you must embed it after <head> tag or before </head> tag
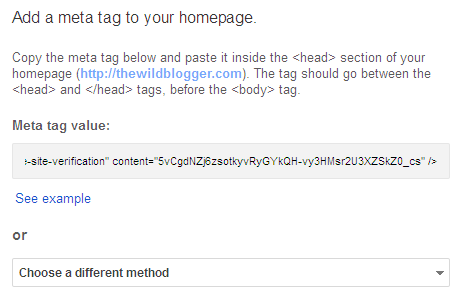
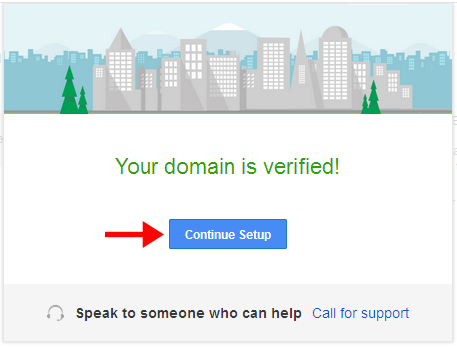
7. After adding Meta tag value simply check the box says “I have added the meta tag to my homepage” and click on “Verify” button. A popup will say your domain is verified so click on “Continue” to proceed
Create accounts for your team
8. On this step you have to add users here so they can start using apps and services. To add users who are in your circle or Gmail groups you can add them by clicking on “Add users” link and choose your options to add new users or to skip this step simply click on “Next”Set up email
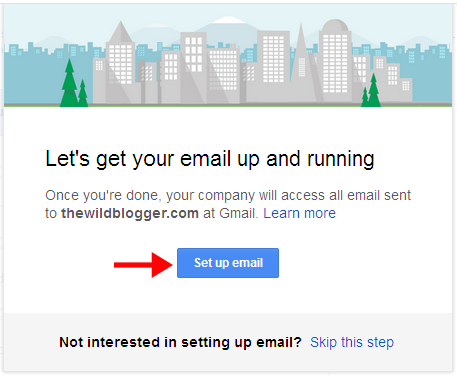
9. This is the very important part of our work since you have to setup Gmail with new MX (mail exchange) records under Domain control panel. Not very hard to organize but will take fewer than 2/3 minutes to setup.10. To continue click on “Set up Gmail” and a popup will say “Let’s get your email up and running” while you have to click again on “Set up email”
Domain setup
11. Google apps require you to set up six different options to verify your domain MX records so that all your emails can be directed to your business email connected with a Gmail account under your custom domain address.12. As we will perform custom MX record setup with Namecheap.com so make sure you have registered domain address under Namecheap.com. If you don’t have any domain address yet then I think you’re missing the cheapest domain service with all available features from Namecheap.
Look what Namecheap provides you:
- Namecheap runs at $10.69/yr for .com domains [including WHOIS Guard support]
- Free secured DNS service
- Personalized custom email address upto 5 emails
- Auto domain renewal service
- Live support with 24/7 hours
- Namecheap is proactive in account security which is absent in many domain register companies
- And lots of new features, you can check this post for Namecheap special offers
13. Here we have to create new custom MX records so scroll down the page a little and check “User (Mail Server’s Host Name Required)” and click on “Save changes”
14. Here all the custom MX records property will go under “Host Name”, “Mail Server Hostname”, “MX Pref” and “TTL”. Before inputting these blank boxes we have to switch “Admin Console” tab of browser to get Custom MX records.
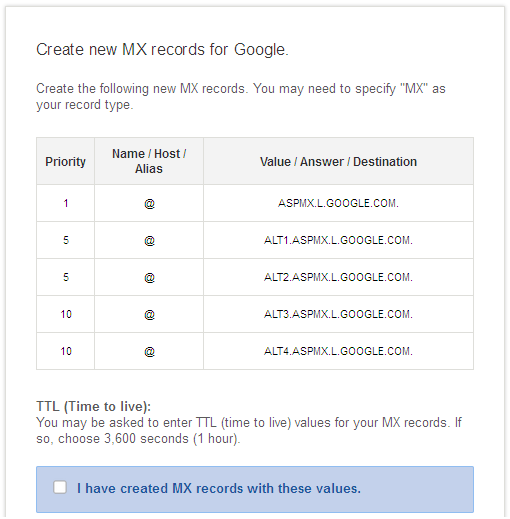
15. Now tick first three tabs and with fourth tab which provides MX records values you have to just copy values under “Mailserver Host Name” and put the five values sequentially under “MAILSERVER HOST NAME”
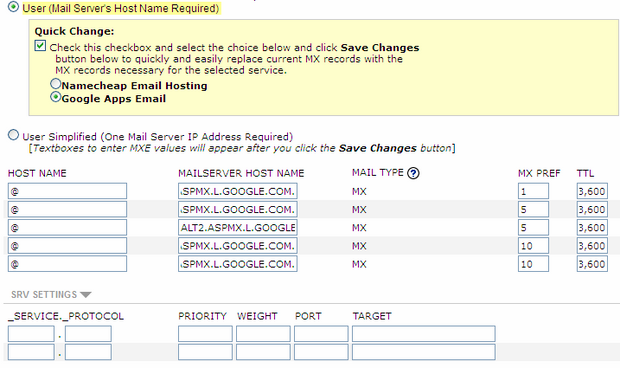
16. Fill the first column’s blank boxes with “@” character. Then fill “MX PREF” with property values. And “TTL” with “3,600” which is for second.
17. Finally click on “Save changes” and you’re successfully updated Custom MX records in Domain Cpanel.
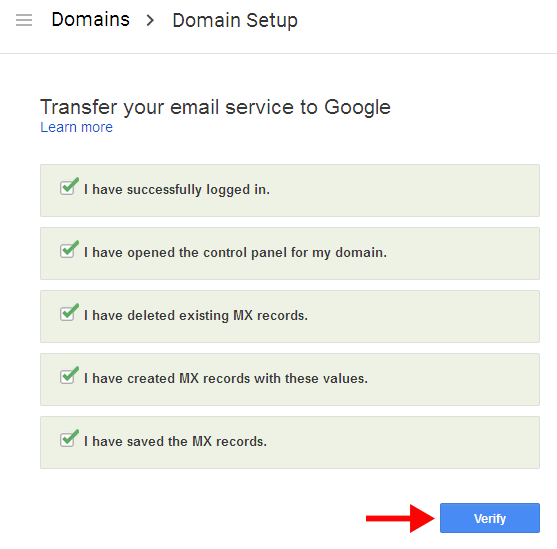
18. Again switch to “Admin Console” tag of Google apps and tick other two tabs. Later click on “Verify” button and you will see an instant feedback from Google apps that you have successfully created MX records under your domain address.
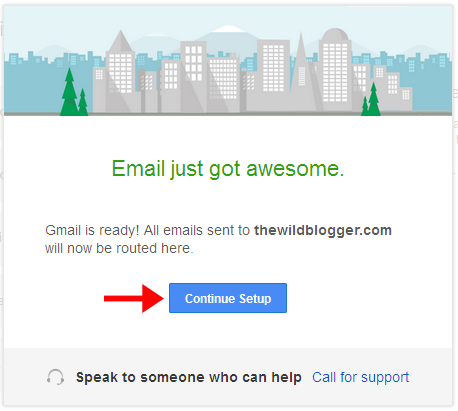
Mail setup will take at least 24 hours to be completely verified and you will get notification message once done.
Note: This Google apps service is for 30 days trial period only so if you want a lifetime service then you have to purchase their subscription plans. There are different types of plans Google apps provide according to usability of apps service.


Thanks a lot for a great sharing. Best suggestion for adsense.
ReplyDelete